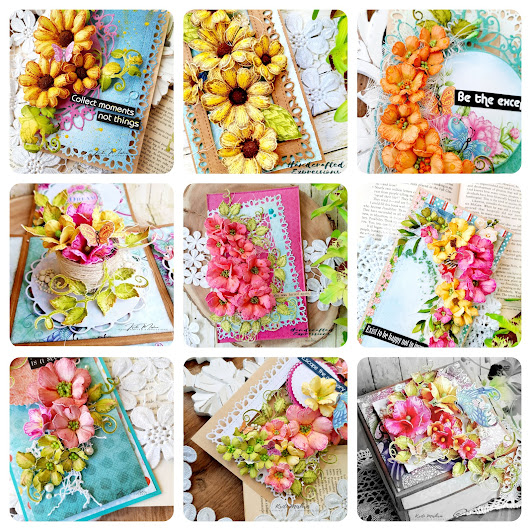
Wednesday 27 December 2017

Decoupaged Glass Bottle

Namaste Everyone!!

This is Kriti today with an inspiration post...
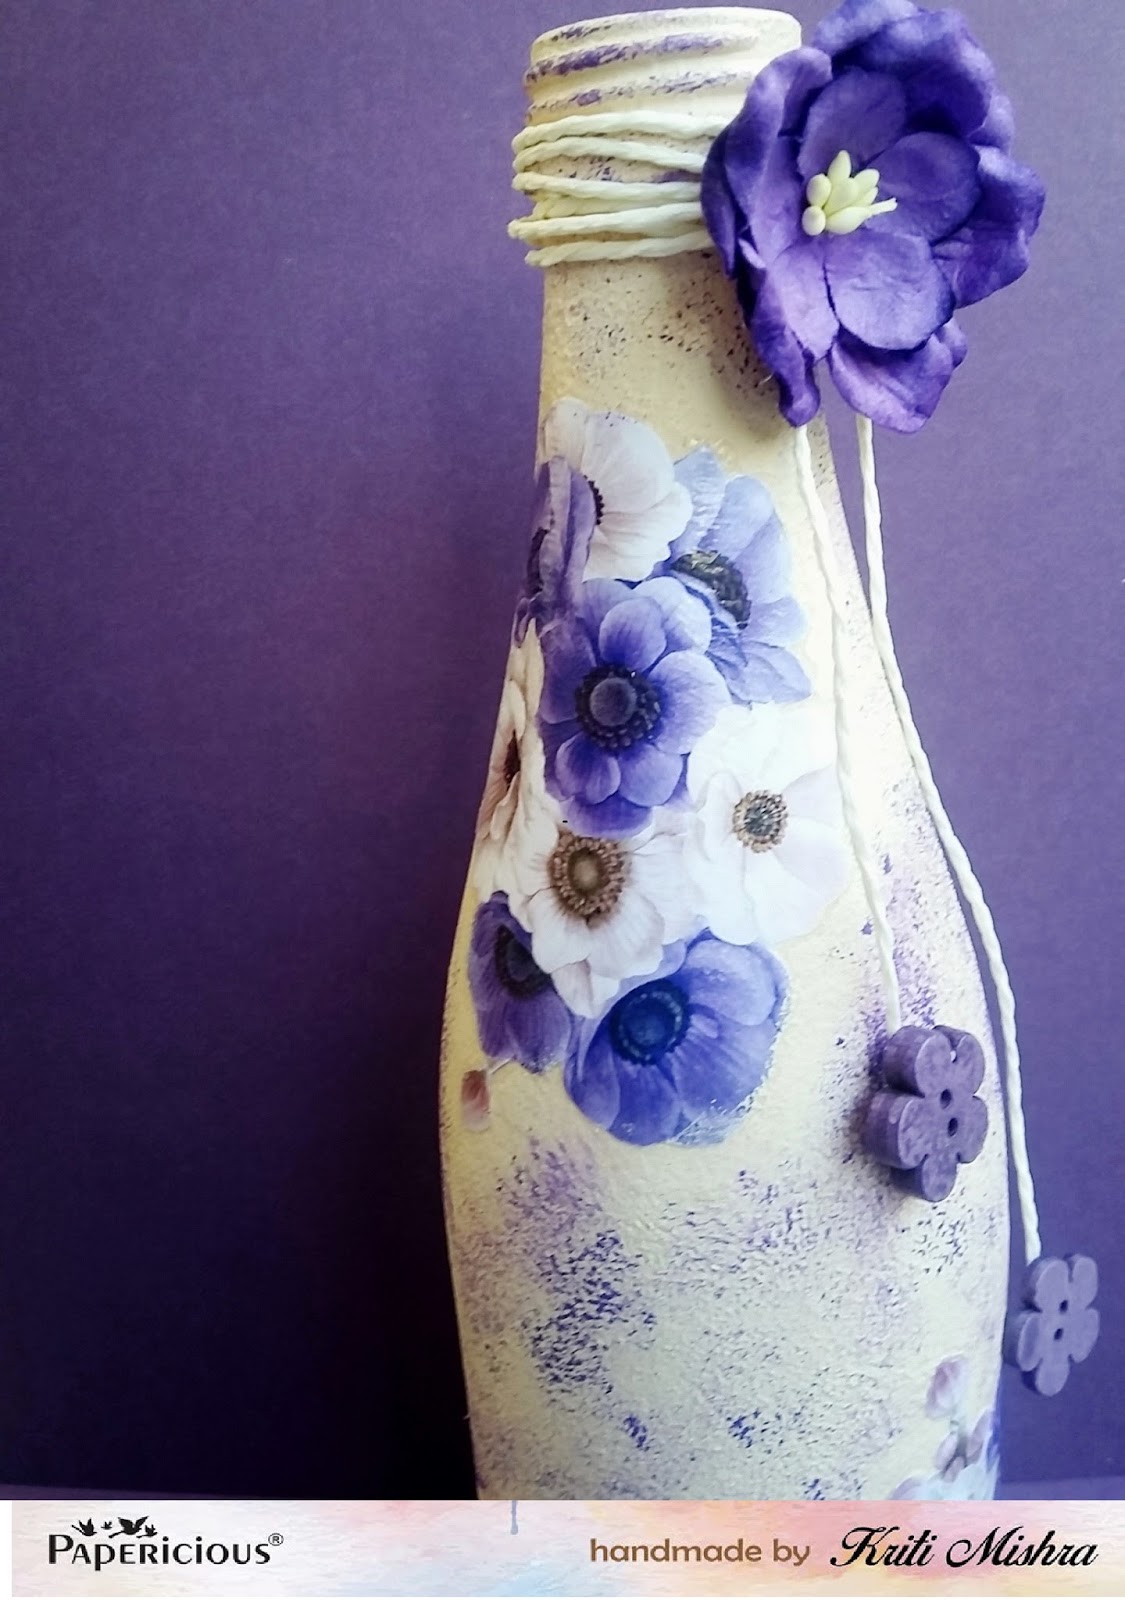
The perfect way to use up your empty bottles is to alter them. Today's post is based on decoupage, which is a simple and effective way to recycle glass bottles and jars and create beautiful, unique decorations for your home and office.

Recently Papericious has launched some new decoupage papers and they can be used to create different gorgeous projects.

This is the project..


I started with a plain glass bottle that had been cleaned inside and out by soaking it in hot water( labels were removed) and then left it to dry. Then I have coated the bottle with two coats of white gesso.

After that I have applied Soft Rock Chalk paint by Papericious with the help of sponge.

Next, selected a beautiful decoupage paper from Whimsical Pack. I had cut some floral motifs. The quality of this paper is awesome, however, I felt it might be a little too firm to mould to the circular shape of my bottle. So, to save myself, I have moisten the backside of the paper with water, let it set a moment and then applied the Papericious Decoupage glue. Then positioned both the motifs and applied decoupage glue with a flat brush.

After that sponged the bottle with Dried Lavender Chalk Paint and embellished it.

Few more pics..


I hope you liked the post..

Hugs !!

Kriti Mishra

Supplies used:-


Sunday 17 December 2017

Winter themed Gatefold Accordian Mini Album -- Step By Step Tutorial

Namaste Friends!!

This is Kriti and today I am here with a tutorial post. The winter has officially come, so I hope it will give you all an inspiration for your winter projects. And today I have got a mini album tutorial
using Papericious new release paper pack Winter Rimes. It mainly has two winter colours blue and beige, a perfect match for winters, comes in size of 6 x 6 and 12 x 12 inch.

Have a look...


I have made a Gatefold Accordion mini album and I enjoyed creating it because these papers have all the elements of winter that any one can think....

So, let's see how I have created this...

Firstly I have taken a chipboard piece and cut it into 5 pieces 12 x 16 cm, 8.5 x 16 cm, 5 x 16 cm and two pieces of 2 x 16 cm.


Adhere them on a cardstock, keeping a gap of 0.5 cm(so that it can bend easily) in each piece as shown in the picture below


Now score the edges, cut the corners and cover it.


Cover the inside of the album with the pattern papers


Now, cut a piece of cardstock into four pieces 23 x 15 cm. Score at 11 cm and 22 cm on the long side.


Join them together to make accordion, mat them and finally paste them inside the album. And voila! album is ready.

Some more pics..


It opens up like this...


Supplies used


I hope you like this project..

Hugs!!
Kriti Mishra

Monday 11 December 2017

Monochrome Mini Album

Namaste Friends!!

Kriti here with my latest project with Papericious new release Monochrome Paper Pack and 3D Chipboards. This pack is a must have as it has beautiful designs.

So, let's see what I have created


This is a mini album of size 8" x 6". For the cover, I had layered two pattern papers from the pack and then done some mixed media over it. Firstly , I applied some clear gesso and then applied Papericious modelling paste with the help of stencil. After that, sprayed some yellow colour and done some doodling with black water colour pencil. Embellished it and the cover is ready...

Some close- up pics of the cover..


 I hanged 3D star shaped chipboards as charm.


Inside pages of the album..


I hope you have enjoyed today's post. Do leave some love in the comment section.

Hugs
Kriti Mishra

Supplies used:

Papericious Designer Collection - Monochrome (12 by 12 patterned paper)

Papericious Bright Yellow cardstock (Set of 10 sheets) - 12" by 12" (250 gsm)

Papericious 3D Chipboards - Collage of 3D stars

Papericious 3D Chipboards - Christmas Ornaments

Papericious Art Mediums - Modelling Paste

I am entering this into the Peek-a-boo challenge #14 Anything but a card
I have used many elements from the grid like Sequins, Stencil, Cutting die, geometric shapes, layers and hearts.


"Home" Mixed Media Layout

Namaste Friends!!

This is Kriti and today I am back with a step-by-step tutorial of a mixed media layout.

I named it "Home--There's no place like". By writing this I just want to say that home is the starting place of love, hope and dreams. A place your feet may leave but your heart will always be. This is a place where love resides and memories are created. It is rightly said " A man travels the world over in search of what he needs and returns home to find it". That's why I say if, you go anywhere, even paradise, you will miss your home.


Have a look..


Lets see how I have created this..

Firstly I have collected few things like chipboard, gloss gel, white heavy gesso, modelling paste, few spray colours and some embellishments.

First cut the chipboard of size 6" x 4"  and apply soft gloss gel. After that cover the entire surface with white heavy gesso (I have used palette knife to apply the heavy gesso to give some texture).


Next I have applied modelling paste with the help of bubble stencil to give some more interesting texture.


Now the most interesting part, I have sprayed some water upside down so that colour can flow easily and then sprayed few colours. to give more interest I have first used light yellow, then dark yellow and lastly brown (All coloured were spayed upside down).


And now adhere all the embellishments and sentiment as per your creative thinking. I have stamped it also with bubble stamp and its ready.


I will surely frame this and put in my living room. So, If you want to beautify your home, don't sit and think about it. Go and get busy.

Hugs!!
Kriti Mishra

Semi- finalist at Heartfelt Creations Design Team 2022(Please vote for me)

  Namaste Friends!! I am ve ry excited to a nnounce that I made it to the semi- finals of prestigious Heartfelt Creations Design Team 2022. ...